
Let's talk photography, shall we? Here are a few quick and easy tips that should get you on the way to taking better blog photos.
Tip #1:
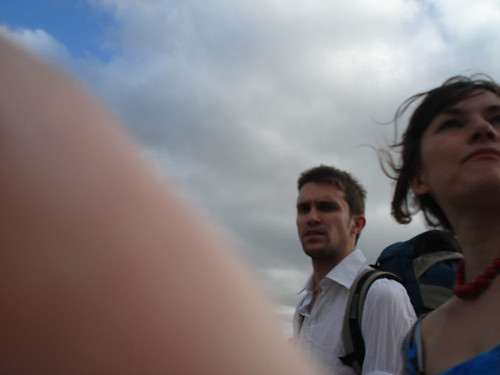
Make sure you have a clear shot.
Photography can be somewhat of a waiting game. If the shot's blocked, don't just shoot anyway because you want to capture the moment. Wait for whatever (or whoever) is blocking the shot to move before you snap the shot. The final image will make much more of an impact if you lose the distractions.You might do well to implement another trick I learned from one of my photography teachers, too... the "sneaker-foot zoom". Which means... get your feet moving and walk closer to whatever you want to shoot. Move around your distractions if you need to. In other words, move your sneakers!
 |
| via |
Tip #2:
Steady your hand.
Have you ever shot a gun? Yeah, me neither. But I hear that you're supposed to pull the trigger at the bottom of a breath. The same thing is true with photography.Believe it or not, even your heartbeat can wiggle the camera. This is especially critical when you're indoors where the lighting isn't as good. If you can, form a tripod structure with your body - hold your feet firmly planted, your elbows tucked into your sides, and keep your camera up against your face. This is a much more stable posture than holding the camera out at arm's length. Now take a second and concentrate on your breathing. As your lungs exhale, squeeeeeeeze the trigger slowly and steadily until it clicks. Don't just punch down on the trigger (that'll wiggle the camera too).
 |
| via |
Tip #3:
Take a second to compose your image.
This is one of those tips that seems obvious, but it's amazing how easy it is to forget. Don't chop off people's heads!But seriously... before you snap the photo, think about how the scene actually looks on it's own, out of context from the reality that you're now sitting in. When someone takes a look at this rectangle piece of art that you've just created, will it make sense? If someone's head is chopped off or you missed half the people in the scene, it's not going to be very obvious in 20 years what you were intending to take a picture of.
A quick rule of thumb to remember is the "rule of thirds". Imagine a tic-tac-toe board imposed over the top of your photo. Put the important parts of the image (someone's face, for example) where the tic-tac-toe lines cross each other, rather than in dead center or running off the sides of the image. This will make for a pleasing composition and will often create a sense of movement or "tension" in the photo (which is a good thing in photography).
(Note: there are artistic reasons to run a subject off the side of the photo, but this needs to be done very intentionally and dramatically. If you're going to have your subject interacting with the sides of your photo, do it all the way, not just slightly, because that can end up looking like an accident instead of something that you meant to do).
 |
| via |
Tip #4:
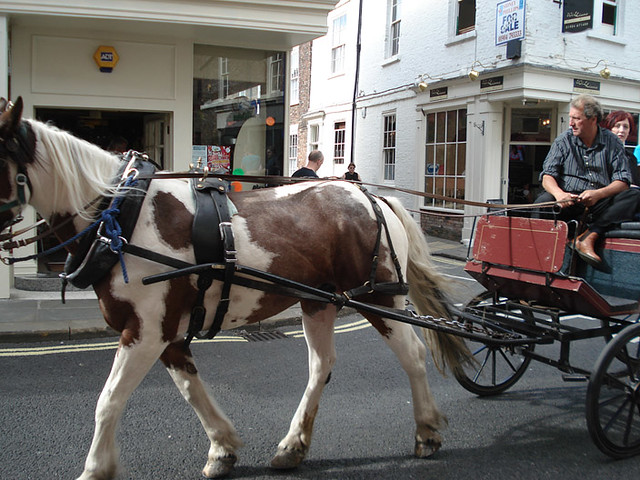
Straighten your horizon.
Again, there may occasionally be an artistic reason to have a tilted horizon, but usually it just makes your readers dizzy. This is one of those things that even I have to stop and remind myself of every now and then. For some reason, it's very easy to get caught up with shooting your subject, but then forget to stop and make sure your background is straight.There are vertical and horizontal lines in every image. Generally speaking, if you can get the horizontal lines straight, your image will appear to be balanced and not leaning. In the case of this example, the main horizontal line is the sidewalk that's running through the background. Make that straight with the bottom of the photo, and everything else won't feel like it's falling to the left.
Remember that especially in the case of photographing tall buildings, the vertical lines of a building can naturally appear curved or slightly diagonal. Your eyes won't mind this, though, so long as the horizon is straight.
 |
| via |
Tip #5:
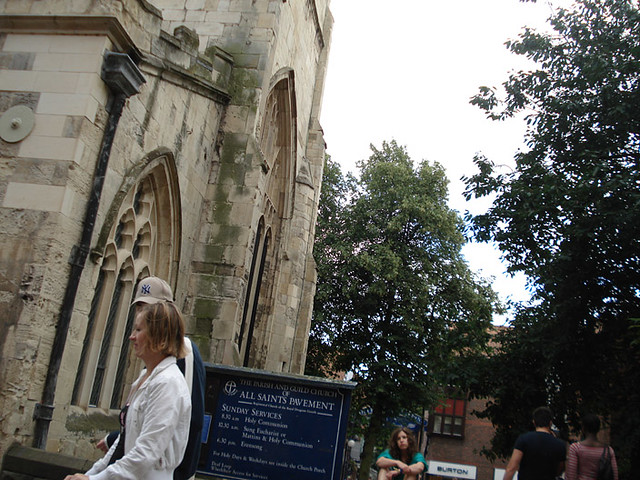
Get in close to your subject.
So your friend is posing on a stone seat in front of a really cool church. You snap the photo trying to get everything in, and... you end up with a really oddly composed image that you can barely make out your friend in.Remember that you can't get everything in the image. If you're wanting to photograph your friend... get closer to your friend! Fill the frame with the subject (in this case, your friend) and you'll get a much stronger image.
 |
| via |
Tip #6:
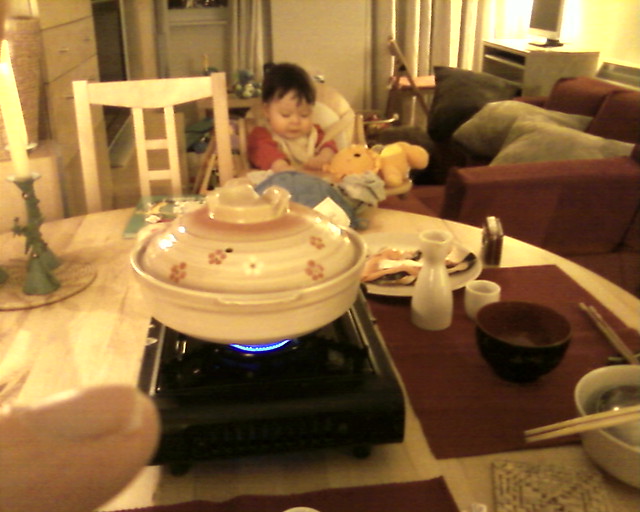
Consider your lighting.
Okay one last tip. Lighting, lighting, lighting! They say that photography is painting with light. But in the case of many indoor shots, there just isn't enough light to paint with!Remember that your eyes can see WAY better than your camera can (even if you have an expensive, professional camera), so don't assume that just because you can see in the room that your camera can too. Your camera may have an "Indoor" mode or a "Nighttime" mode. Use this!! Not to get all technical on you, but your camera needs to make ISO and aperture adjustments in order to get a properly exposed indoor photo - using one of these settings will remind it to make these adjustments automatically.
Also, remember that you can always bring in more lighting. Aim a lamp off-camera towards your subject to flood the scene with light. This will give your camera an easier time exposing the scene. Another trick is to use something white to reflect light up into the subject's face (again, have this off-camera, to the side or below your subject). "Real" photographers do tricks like this all the time, so don't be afraid to experiment!
 |
| via |
*****
This concludes week three of the Build Your Blog! series. Just a reminder that I've slightly changed the topic list to incorporate some subjects that I thought of since I made the topic list. Next week we'll dive into one of these new subjects: HTML Basics. If you haven't already, don't forget to subscribe to this blog so you know when the next edition of the blog series is ready!
Questions or comments about this week's topic? Leave them below & I will try to answer them all in a follow-up post later this summer!
*****
Grab a button and spread the word!

This is awesome, thank you! Super helpful!
ReplyDeleteCarly
www.lipglossandcrayons.com
You've got some great tips here Jennifer! I always love learning about how I can improve my photos, and have been saving up for s new camera - hopefully I'll be able to take the plunge soon! Have a wonderful day!
ReplyDeletegreat tips! thanks!!
ReplyDeletehttp://babybakerlove.blogspot.com/
That poor headless horsie!
ReplyDeletegood tips thanks Jen.
Great tips!! Thank you for sharing!
ReplyDeleteThis is such an exciting series! Your photos are great examples. And I have never heard of the tic tac toe tactic in photography. Thank you - I'll be following.
ReplyDeleteYes it really is a quick and easy way to remember when trying to compose an image! :)
DeleteFantastic post! I especially like the point about forming a tripod structure with your body ... very helpful for someone like me that shakes when taking photos. Thanks for sharing :)
ReplyDeleteJulie
great post...
ReplyDeleteGood advice. I starting to love photography more and more and, of course, want a better camera than the one I have now........
ReplyDelete