DIY: I Love You Because frame


Hi, hi LOVELY Living Creatively readers!!!

My name is Kassi and I write over at Truly Lovely, an 'all things lovely' blog written by me and my sister, Kayli!


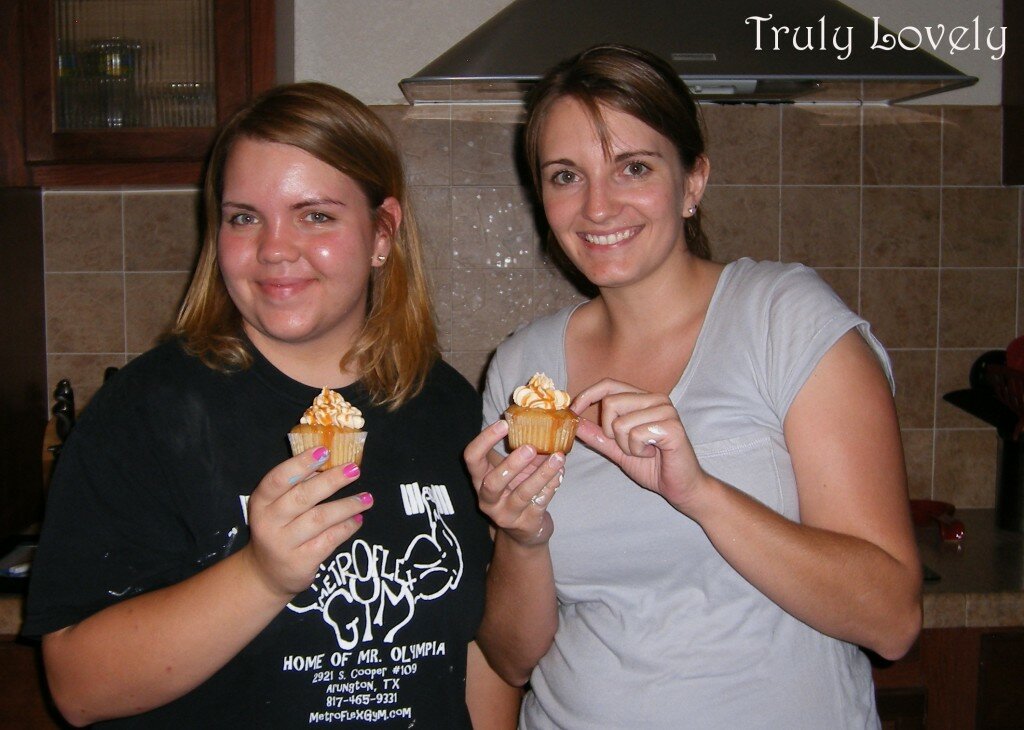
Kayli's on the left, that's me on the right. And that pic pretty much sums us up... Baking, then enjoying a delicious cupcake, all with paint on our hands from our current room makeover... ;) Anyways... I am so excited to have the honor of sharing with you lovelies today!!!

Just so happens, I have a SUPER easy craft for you!

So, my husband and I celebrated our one year wedding anniversary on July 9th!! Whoot! Did you know that the traditional gift for the first year of marriage is paper? I scoured the interwebs and finally found something for my husband that would fit the paper description...

An I love you because... frame!

This craft only requires a few steps and inexpensive materials!

Materials needed:


  • Picture frame (I got mine at Wal-Mart for $3!)


  • Spray paint (if you prefer a different color for the frame)


  • Sanding block (again, if you plan to paint the frame and like the ruffed up look)


  • Dry erase marker


  • Two magnets


  • Glue


  • Photo or printer paper


  • This one is so simple I prefer not to insult your intelligence with a complete play by play. ;) But basically you spray paint the frame (my frame was black and I preferred a dark brown for where it would be displayed). I ruffed up the edges so a little of the black showed through for a more rustic look. Then I designed my print out in Word, printed it on photo paper and stuck it in the frame.


    I used E-6000 glue to glue one magnet onto the frame itself and another onto my dry erase marker. Now there's a marker handy anytime either of us wants to write on the glass!

    Please excuse my horrible handwriting... I was in a rush before the hubs came home! haha! I displayed the frame in our bathroom so each morning we can leave one another sweet messages. ;)

    Thanks so much to Jennifer for letting me share today! Hope to see you dolls over at Truly Lovely sometime soon!

    Happy crafting lovelies!
    blog post by Kassi at Truly Lovely

    Comments

    1. what a super cute idea, and it looks pretty simple, too! :)

      ReplyDelete

    Post a Comment

    Don't even try to leave a link in your comment... it will be deleted without warning.

    Popular posts from this blog

    Etsy Giveaway: Desert Rose Knit Shop

    THIS CONTEST IS NOW CLOSED!! 39 comments are entered - if there are any more at a later time added, they will NOT count. ********** Today I'm christening my new(ish) blog with an Etsy giveaway! I'm offering one lucky winner a cabled beanie of their choice ( pick your favorite color !). This giveaway will run for a week - so you have until next Monday, January 23rd, to put your name in the hat. 6 ways to enter: Comment below about which color beanie is your favorite. Subscribe to my blog on Google Friend Connect . Blog about this giveaway on your own blog. " Like " my Facebook fan page . Follow me on Twitter . Tweet about this giveaway. Please leave a separate comment below for each entry. At the end of the contest, I'll use a random number generator to pick the winner!! Here's a look at some of the color options available. Browse other color options over at  my Etsy shop ! ***** Thank you for enteri

    Meet a Designer: Stephanie Kubo

    I stumbled across a completely fascinating artist today, Stephanie Kubo . Her portfolio doesn't state if she's a working designer, illustrator, etc, but her work is exquisite so I think she fits the bill for including in my Meet a Designer series. Enjoy! (Linking up with Kristen Victoria ).

    DIY Art Journal

    Hi, my name is Linda and I am a 25 year old law student living in Manhattan. I blog over at My Passion Is... about my life, scrapbooking, DIY crafts, photography, exploring NYC & more. I am honored to be sharing a post with you today on Jen's blog, so thanks for having me! I recently completed a mini album that I made out of a pasta box so I wanted to share a tutorial with you so you could make your own! What you need: empty pasta box [I used a whole foods penne pasta] scrapbook papers & embellishments a single hole punch sturdy tape [like packaging tape] a paper cutter and/or scissors some sort of binding, either binding rings or ribbon First, you are going to flatten out your pasta box. Then you are going to cut it down to two 6x6 squares [or whatever size album you want to make]. If the box doesn’t fit perfectly in those shapes that’s alright, just piece them together using packaging tape to hold the squares together. Once you cover them i